Table of Contents
- Quick answer: should you paint your condo yourself?
- When does painting your condo yourself make sense?
- What does DIY condo painting really cost in Toronto?
- What condo-specific hurdles catch DIY painters?
- When hiring a pro is the smarter call
- Pro tips and the common DIY mistakes to avoid
- The honest verdict: DIY or hire out?
Quick answer: should you paint your condo yourself?
Yes, you can paint your own Toronto condo, and for a single small room with sound walls, DIY is often the right call. The honest catch is scale: whole furnished units, high ceilings, repairs, and resale prep tend to favour hiring a pro. This guide weighs both fairly so you can choose with eyes open. For the bigger picture, start with the full condo painting guide.
Key Takeaways
- DIY suits one small room with good wall condition and a confident, patient painter.
- Real Toronto DIY costs add up fast: ceiling paint and tools alone run $150 to $350 or more in 2026.
- Condo hurdles, high ceilings, board approval, elevator booking, and neighbour odour, trip up more DIY jobs than the paint itself.
- Pros bring speed (a unit in one to three days), two even coats, premium Benjamin Moore, and a 5-year workmanship warranty.
- Verdict: walls-only in one room is reasonable DIY; furnished units, repairs, or resale prep are worth hiring out.
When does painting your condo yourself make sense?
DIY makes the most sense when the job is small, the walls are sound, and you are honest about your patience. A single bedroom, a home office, or a powder room with smooth, undamaged walls is the sweet spot. If the existing paint is in good shape, the colour change is modest, and you can empty the room, a careful weekend painter can get a clean result.
Confidence and time matter as much as the room. We have seen first-time DIYers do beautiful work in one tidy room because they slowed down, taped properly, and used good paint. The trouble starts when ambition outruns experience. If you have painted before, own or can borrow the basics, and the room has standard ceiling height, DIY is a sensible, money-saving choice.
Before any colour goes up, get the prep right. A clean, patched, dust-free wall is what separates a flat, even finish from a blotchy one. Our walkthrough on how to prep your condo covers the steps that DIYers skip most often.
What does DIY condo painting really cost in Toronto?
DIY saves labour dollars, not material dollars, and the material bill surprises people. The realistic breakdown for a Toronto one-bedroom DIY in 2026:
| Item | DIY cost | Notes |
|---|---|---|
| Wall paint (2 gallons premium, e.g., BM Regal Select) | $140-$180 | One-bedroom needs ~2 gallons for two coats on walls |
| Ceiling paint (1 gallon flat) | $60-$80 | Dedicated flat ceiling paint, not wall paint repurposed |
| Brushes (2.5" angled sash + cut-in) | $30-$50 | Synthetic-bristle Purdy or Wooster |
| Roller covers (3-4) + 9" frame + 4" mini-roller | $40-$60 | 13mm/half-inch nap for walls, 4" for trim |
| Tray + liners | $15-$25 | |
| Painter's tape (FrogTape or similar) | $20-$40 | 2 rolls minimum for one bedroom |
| Drop cloths (canvas preferred) | $40-$80 | |
| Step ladder | $80-$200 | If not already owned |
| Patching kit (spackle, sandpaper, scraper) | $25-$40 | |
| Stain-blocking primer for spot needs | $30-$50 | Zinsser B-I-N quart for any stains |
| Total (one-bedroom, walls + ceiling) | $480-$805 | Before HST |
A professional one-bedroom repaint in Toronto runs $900-$1,200 before HST, which means the actual DIY saving is roughly $400-$700 for a weekend of work, assuming you finish without rework. Add a redo on one wall because of lap marks or visible patches, and the saving narrows to nothing.
The bigger hidden cost is time. A first-time DIYer on a furnished one-bedroom typically spends 12-20 hours across two weekends (move furniture, prep, primer where needed, cut in, two coats, clean up, touch-up). Premium Benjamin Moore costs more per can but covers in fewer coats, which often narrows the gap. Here is how the two paths compare honestly.
| Factor | DIY (one small room) | Hiring a pro (full unit) |
|---|---|---|
| Out-of-pocket cost | Lower: $480-$805 for 1-bed | Higher: $900-$1,200 (1-bed, before HST) |
| Time to finish | A full weekend, longer if furnished | One day for 1-bed; crew works in parallel |
| Finish quality | Depends on your skill and patience | Two even coats, crisp lines, consistent sheen |
| Warranty | None, redos are on you | 5-year workmanship warranty |
| Building logistics | You handle elevator, COI, work-hour rules | Pro provides COI + WSIB, books elevator |
| Adhesion check (ASTM D3359 on trim) | Not verified | Verifiable on hidden edge after cure |
What condo-specific hurdles catch DIY painters?
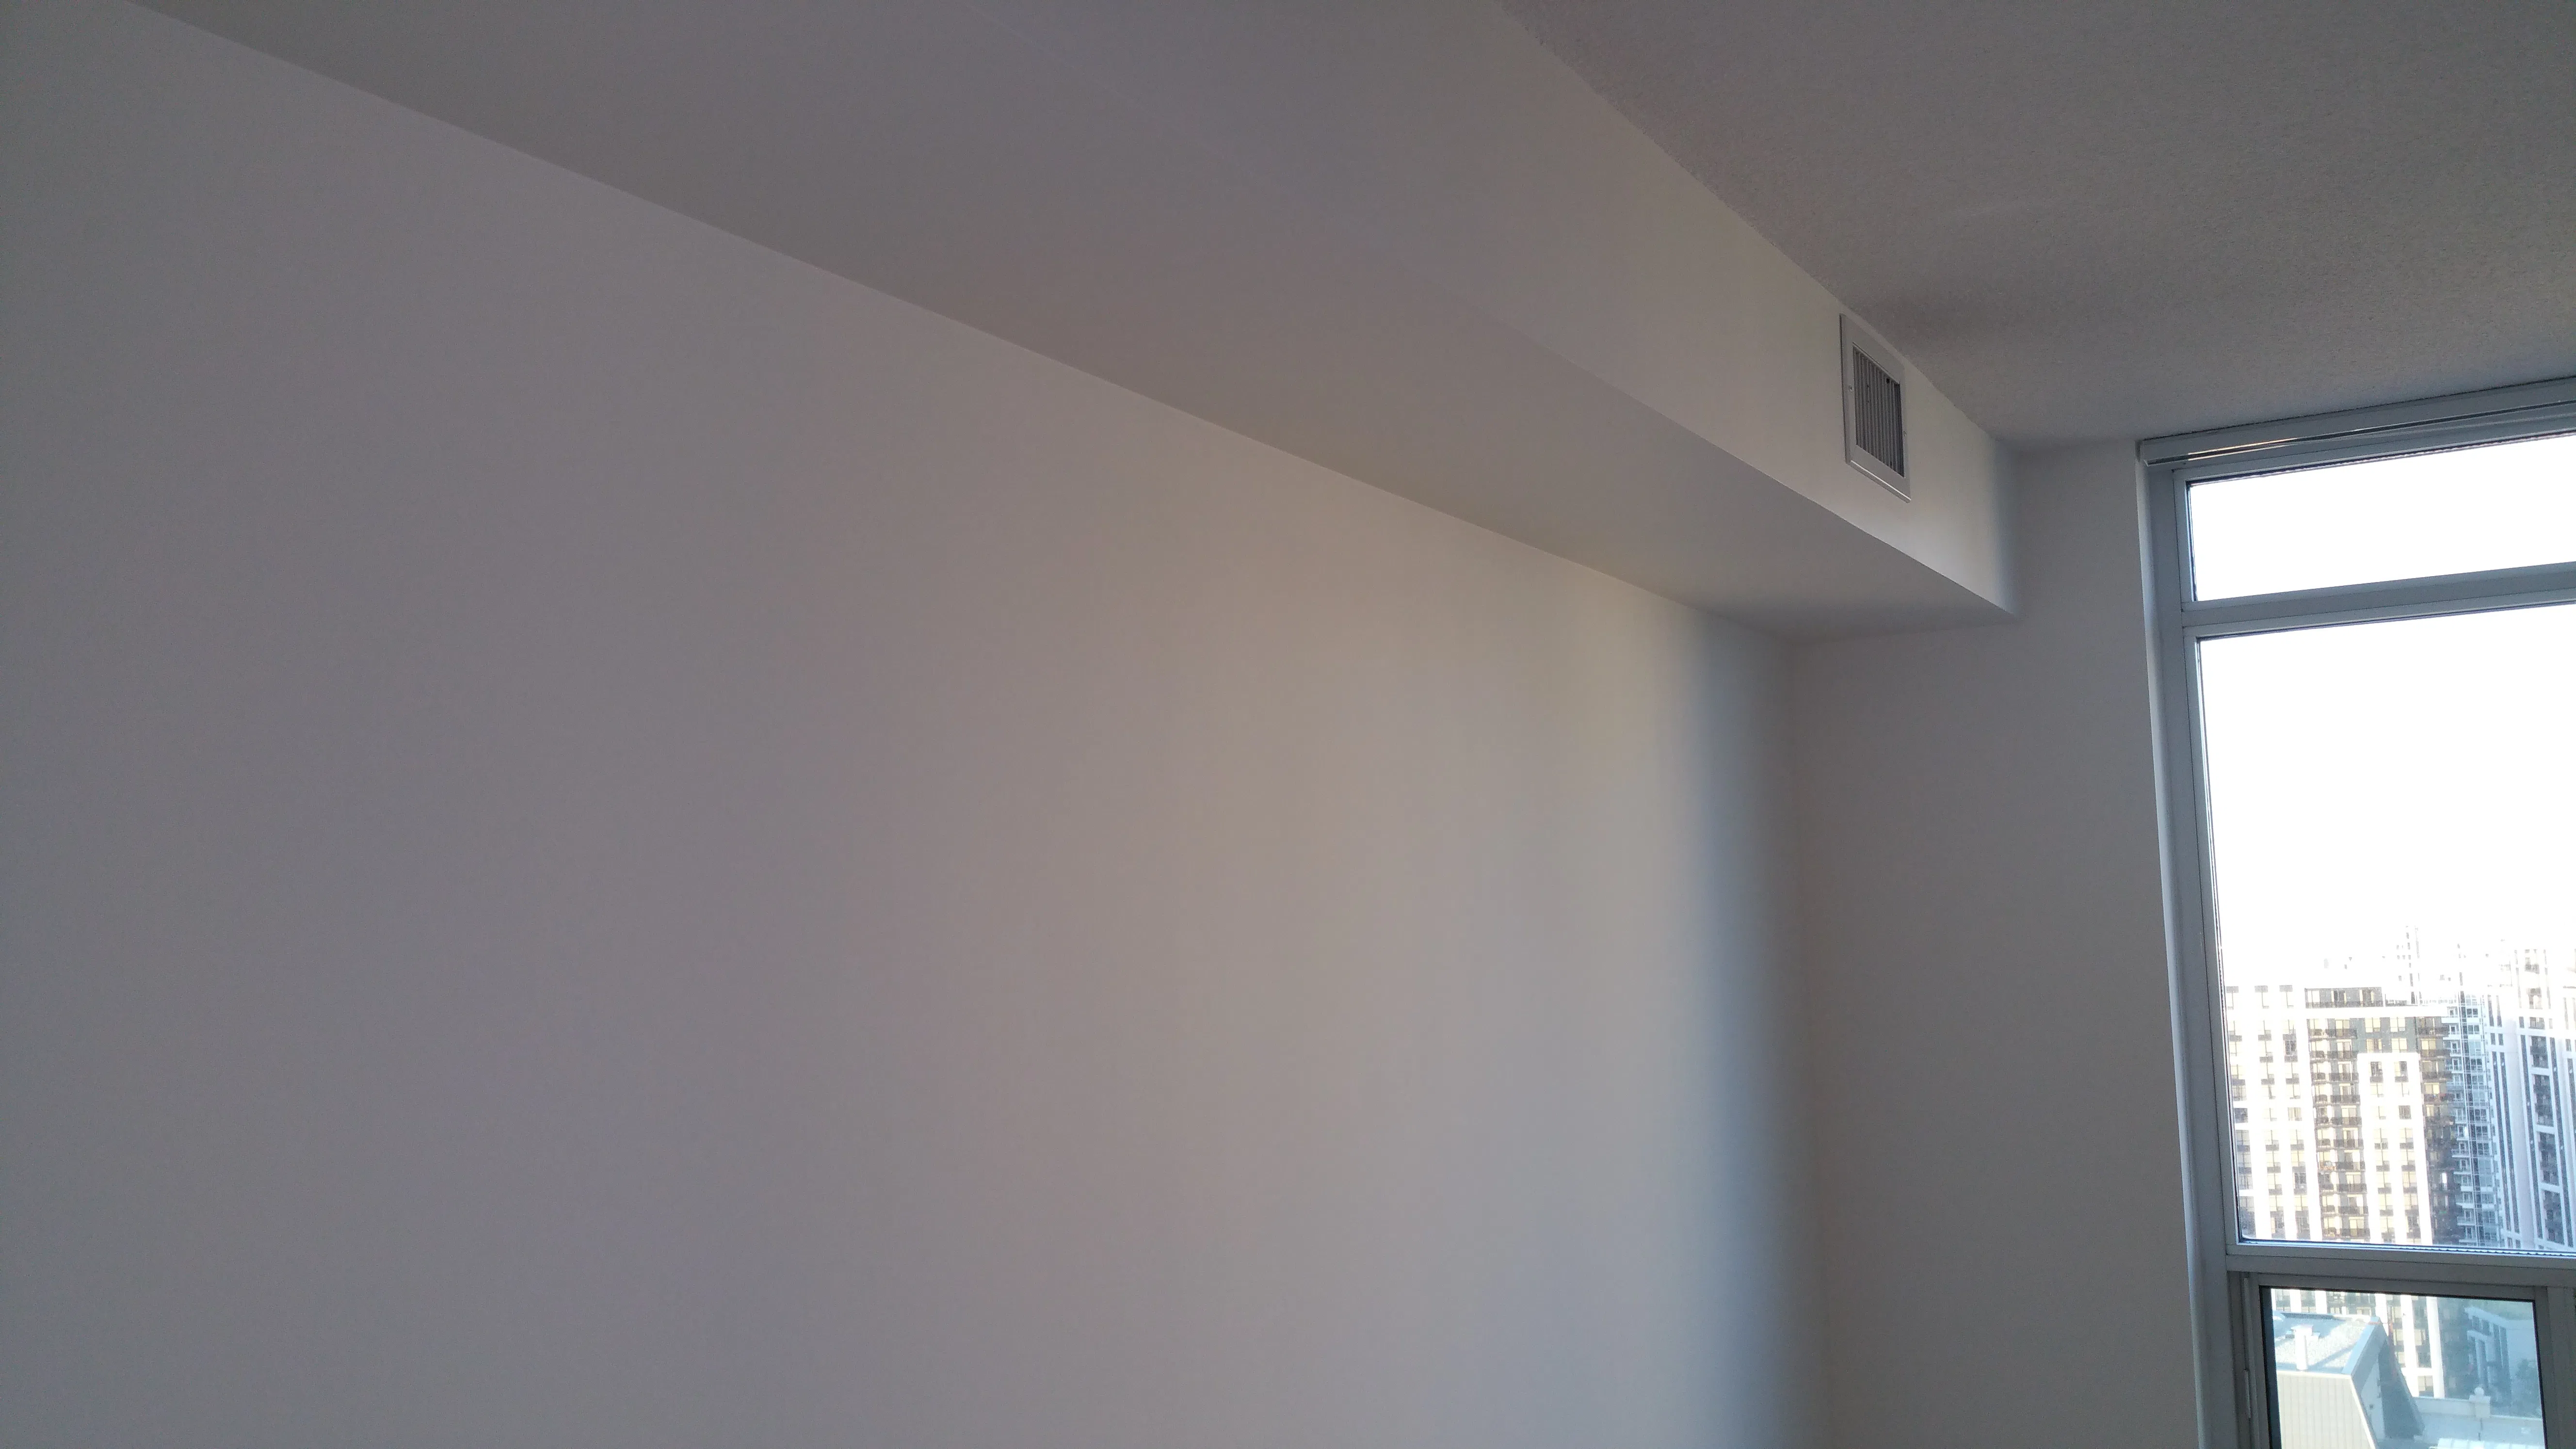
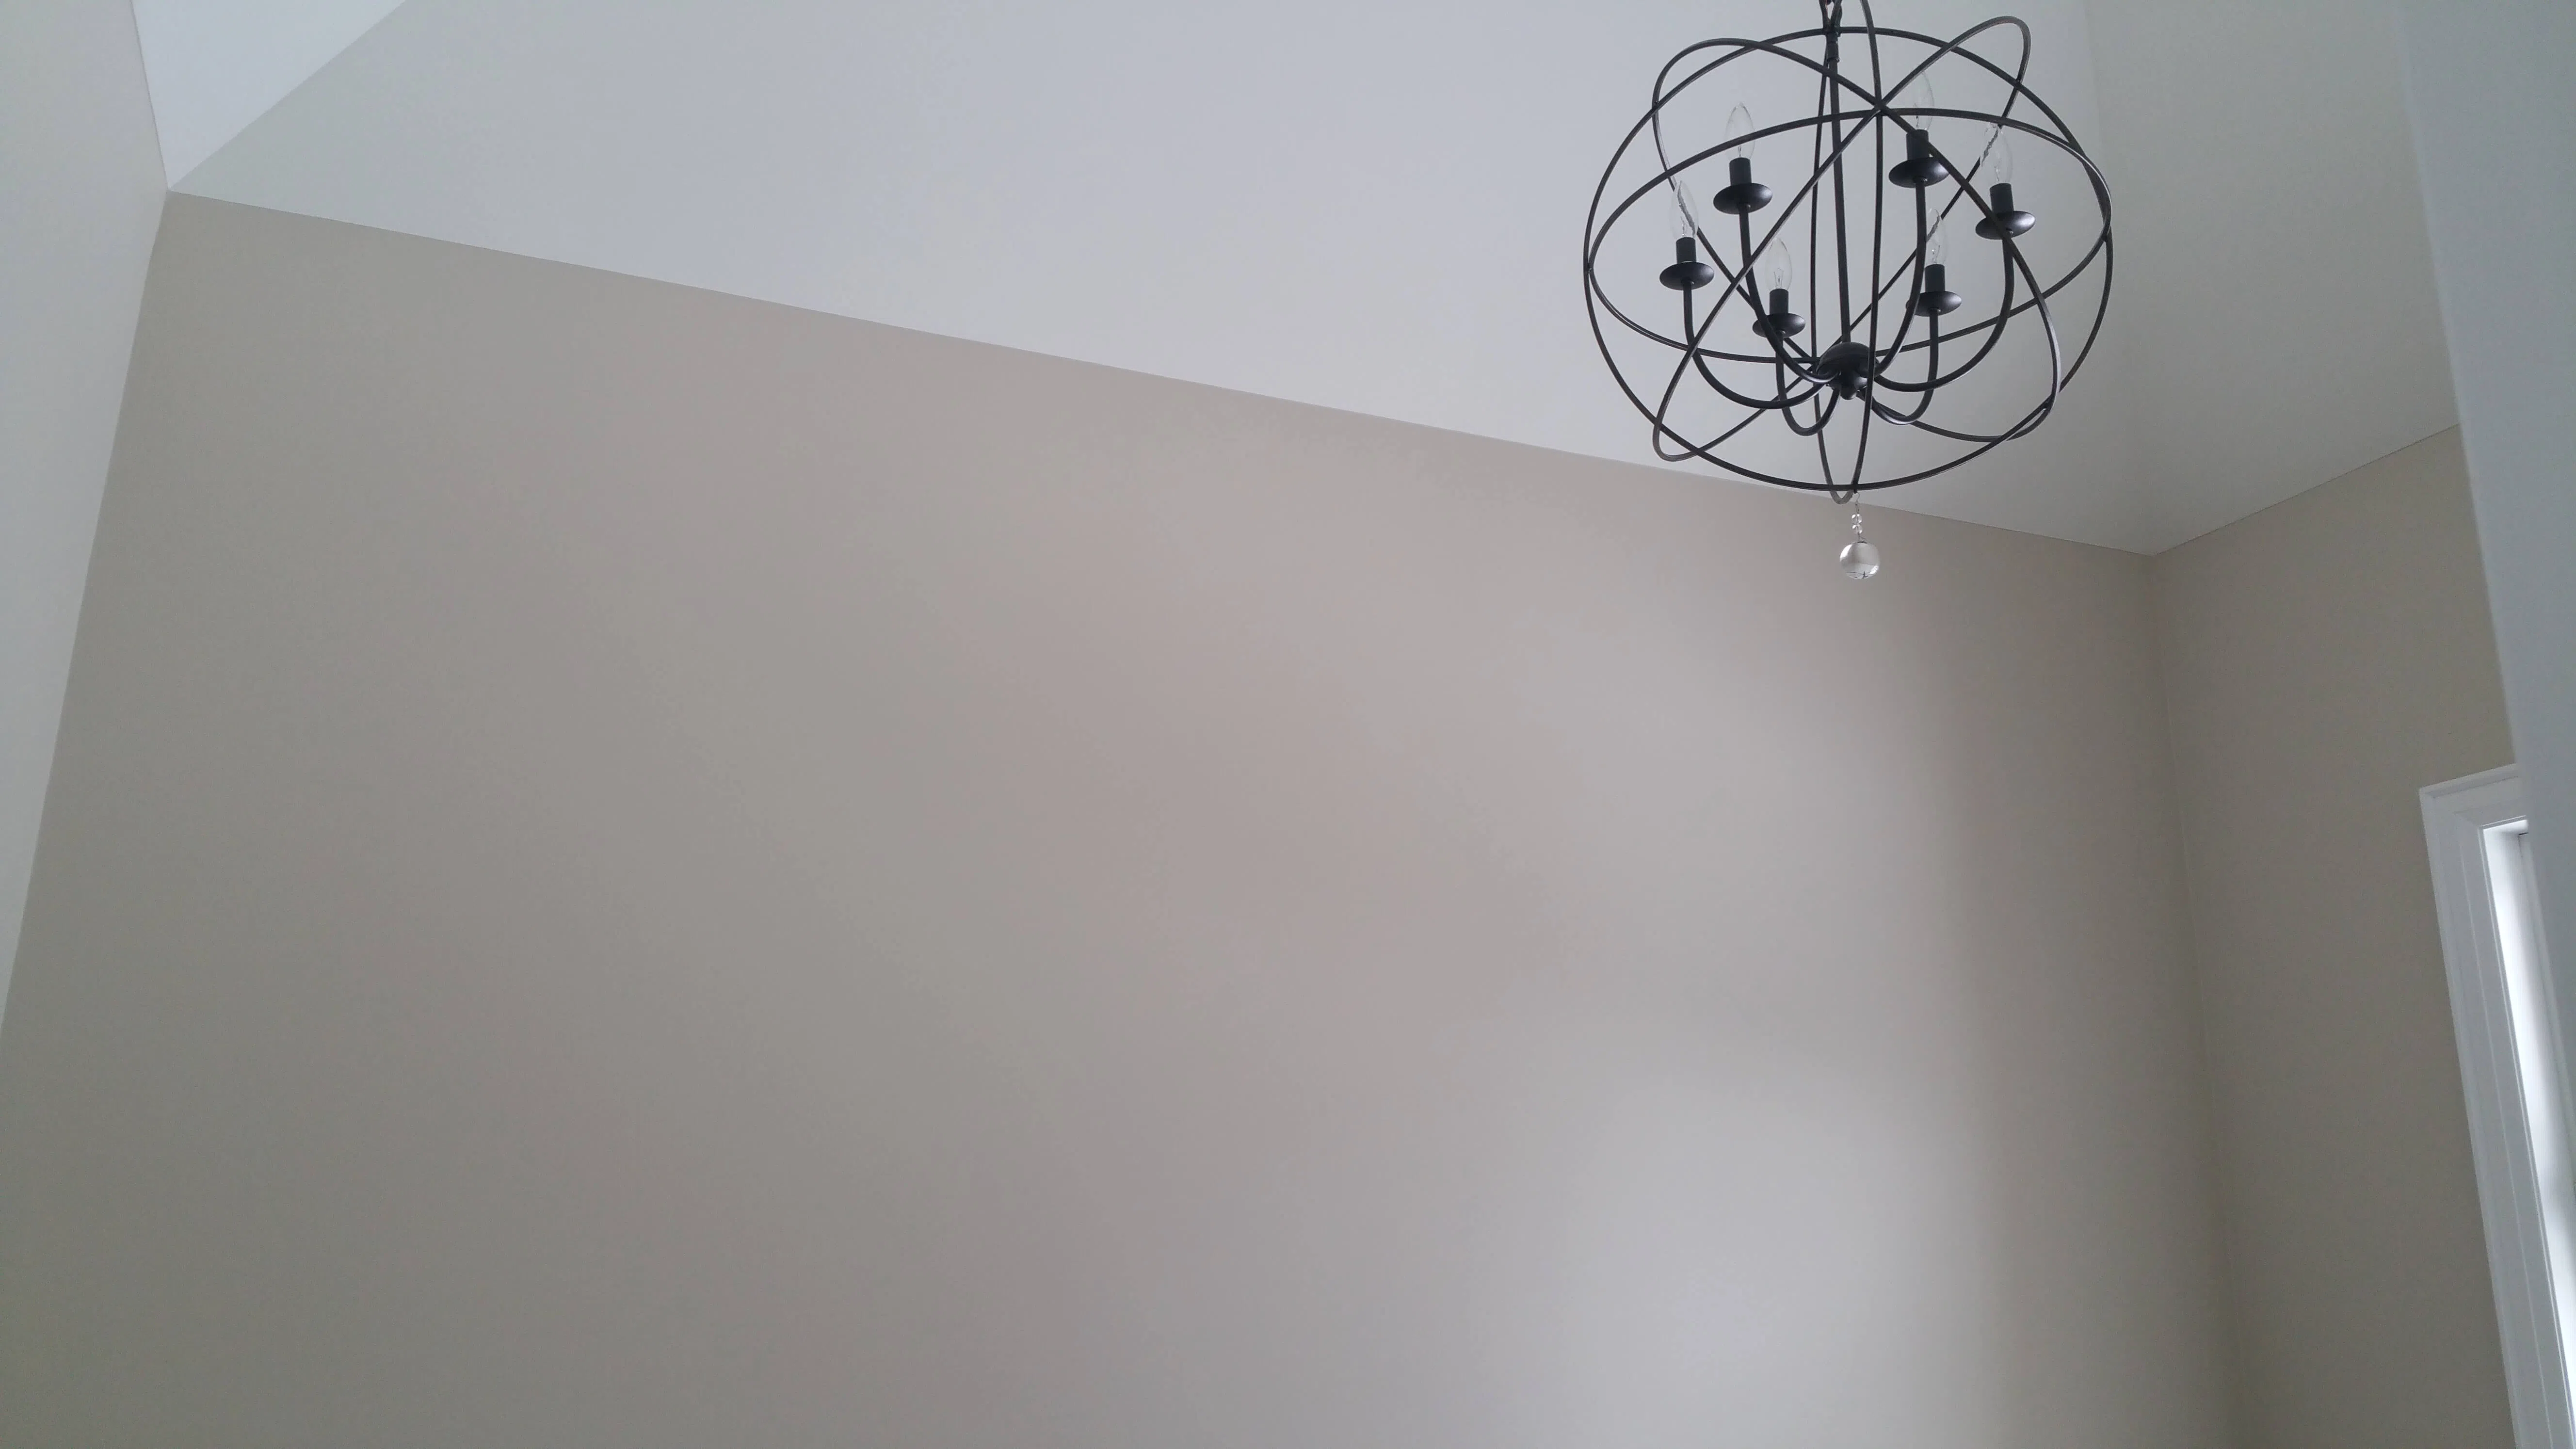
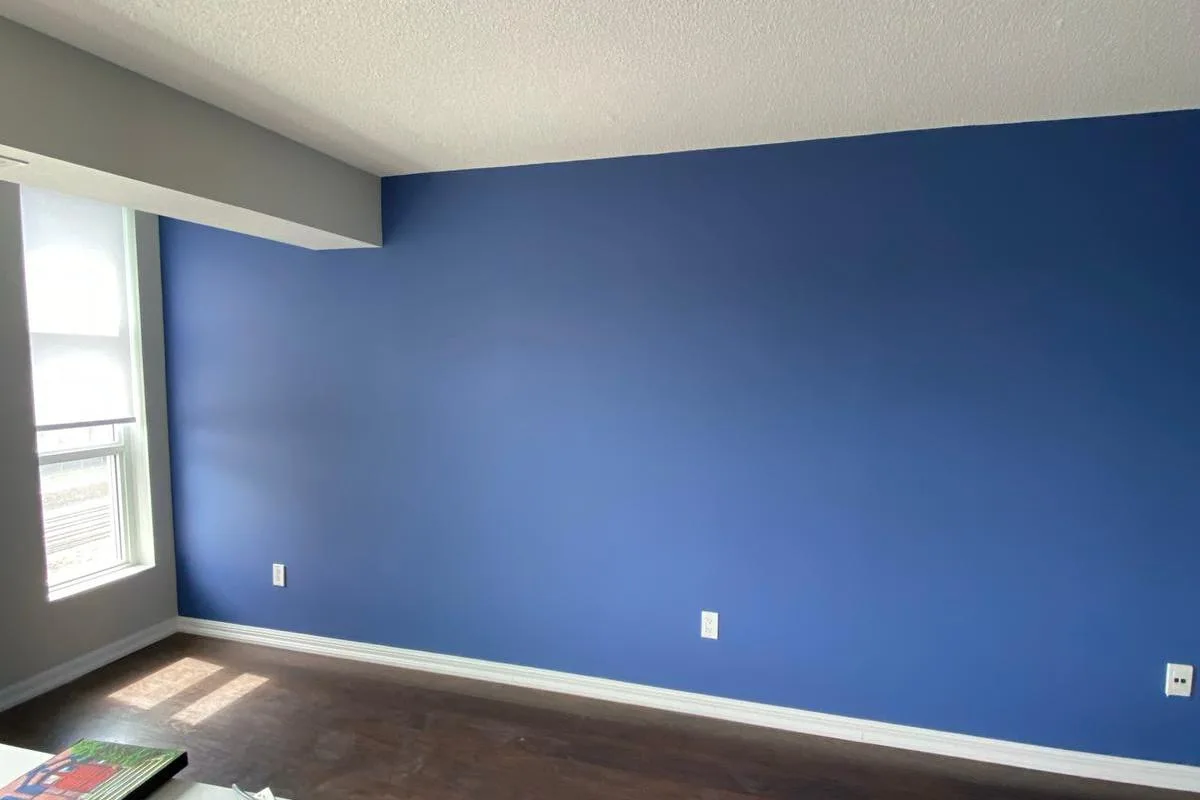
The hurdles that derail DIY condo jobs are rarely about the paint. They are about the building and the ceiling. Newer Toronto condos often have high ceilings that need extension poles or small scaffolding, which is slow and awkward for a first-timer. That single factor stretches timelines and is where most lap marks and missed spots appear.
High ceilings and lap marks
Lap marks show up when you paint too fast, or work in a warm unit with the windows open and the paint drying before you can blend the next pass. High walls make this worse because each section takes more setup. Working in manageable sections and keeping a wet edge is the fix, but it takes practice most owners have not had.
Board approval, elevators, and neighbours
The building side is its own project. Many corporations want you to book the service elevator, protect common hallways, and respect quiet hours. Some require approval or proof of insurance for any non-resident helper, and Ontario's Condominium Act explains how unit alteration rights and board sign-off work. Odour is a real courtesy issue in shared-air buildings, which is why we use low-VOC Benjamin Moore products. Drywall damage and popcorn ceilings add skill demands on top of all this. None of these are dealbreakers alone, but together they explain why tidy-looking rooms still go sideways.
When hiring a pro is the smarter call
I'll give you the honest answer here, even though I run a painting company. Hire out when the job is bigger than one room, or when the consequences of getting it wrong are bigger than your weekend. That mostly means a whole furnished unit, high ceilings, anything with real patching needed, popcorn ceilings, and any pre-sale paint where the finish quality is going to show up in the listing price. In those cases a crew brings you speed, proper prep, two even coats of premium paint, a five-year workmanship warranty, and the insurance paperwork your building wants on file.
The phone calls I get mid-project tend to follow a pattern. Someone tried to DIY a furnished resale unit on a tight deadline, hit lap marks on the second wall, ran out of time, and now needs us to finish on a rush schedule before the listing photos. The redo cost, the lost weekends, and the stress eat the savings, and sometimes more. I'm not saying don't DIY. I'm saying be honest with yourself about which side of the line your project is on before you start. If you do hire out, our guide to hiring a reliable painter walks through the questions that protect you.
Pro tips and the common DIY mistakes to avoid
If you do paint your condo yourself, a handful of habits separate a clean wall from a patchy redo. After years of finishing units across downtown Toronto, the same mistakes show up again and again, and almost all of them are avoidable once you know what to watch for.
Cut in first, then roll
Cut in your edges with a brush before you roll the open field, and do it one wall at a time rather than cutting the whole room first. The reason is wet-on-wet blending. When the brushed edge is still damp, your roller laps right into it and the join disappears. Cut in all four walls early and the edges dry, leaving a visible picture-frame band around the room.
Keep a wet edge and do not overload the roller
Lap marks are the number one DIY tell, and they come from two habits: letting a section dry before you blend the next pass, and dunking too much paint onto the roller. The technique that beats them:
- Work in 3-foot-wide sections, floor to ceiling. Smaller sections dry at the edges before you can blend; larger sections leave you reaching too far.
- Roll from dry into wet. Start each new section a few inches into unpainted wall, then roll back into the still-wet edge of the previous section. The new paint blends with the old before either has time to set.
- Finish each section with light top-to-bottom passes (without reloading the roller). This levels any stipple and unifies the surface.
- Load the roller properly: dip into the well, roll back and forth on the tray ramp twice, lift, and apply. The roller should be saturated but not dripping. A starved roller stipples; a flooded one runs and sags.
- Avoid painting in hot weather or with HVAC running: both speed paint drying past the point where you can blend. Cool, still conditions are easier for a beginner.
The other rookie mistakes worth knowing
After years of finishing condos that DIYers started, the same mistakes show up repeatedly:
- Skipping primer over patches and stains. The patched area absorbs paint differently from the surrounding wall, so the patch "flashes" (shows as a slightly different sheen) under finish coats. Always prime patches with a drywall primer; prime water/smoke stains with Zinsser B-I-N shellac primer.
- Forgetting to remix the paint. Pigment settles in the can. If you don't stir from the bottom before each session, the colour and sheen drift between sections.
- Removing painter's tape too late. Pull tape about an hour after rolling, while the paint is still slightly tacky. Leave it until the next day and the cured paint film tears with the tape, taking your clean line with it.
- One thick coat instead of two thin coats. Thick coats run, sag, take days to cure, and never hide as evenly as two thin coats applied 1-2 hours apart.
- Using cheap rollers. Bargain synthetic rollers shed fibres into the wet paint film, leaving permanent texture. A $15 microfibre or wool-blend roller is the cheapest performance upgrade you can make.
Order matters: ceilings, then walls, then trim
Paint the ceiling first, the walls second, and the trim last. Gravity drips downward, so you want any overspray or roller mist landing on surfaces you have not finished yet. Doing trim last also lets you free-hand the cut line against fully cured walls. On the tape question, tape your trim and outlets if your hand is unsteady, but pull the tape while the paint is still slightly tacky so the dried film does not peel with it. Confident painters often free-hand walls and only tape the trickiest spots, which saves a surprising amount of time.
Use low-VOC paint in sealed downtown units
Newer glass towers are tightly sealed for energy efficiency, so fumes linger far longer than they would in an older house with drafty windows. Health Canada notes that volatile organic compounds off-gas from paint and build up in poorly ventilated indoor air. Low-VOC Benjamin Moore products keep the air breathable for you and the neighbours sharing your floor, and they matter even more if you cannot open a window to a balcony. Ventilate what you can, run a fan, and avoid painting a small bedroom with the door shut.
Match your approach to your building
The toughest DIY conditions in Toronto break along building age. The glass towers in CityPlace, Fort York, and Humber Bay Shores tend to pair tall nine and ten-foot ceilings with tight, open-concept layouts, which means you need an extension pole and a steady setup just to reach the top band cleanly. The older brick hard-lofts in King West, the Distillery District, and Liberty Village bring the opposite problem: exposed concrete ceilings, heritage quirks, uneven surfaces, and beams that no roller reaches the same way twice. Both make first-time DIY slower than people expect, and both usually require booking the single service elevator and, in many corporations, board approval before you start. Read your rules, then plan the logistics before you buy a drop of paint.
I will give you one cautionary tale. A few summers back, a homeowner in a Humber Bay Shores tower called us mid-project after trying to paint his ten-foot ceilings off a wobbly step stool, reaching as far as he could and leaving a halo of unpainted edge all the way around. We came in, set up a proper pole and ladder, and refinished the ceiling in an afternoon. The lesson he took away, and the one I pass on, is that ceiling height alone is reason enough to think twice before going solo in a downtown tower.
The honest verdict: DIY or hire out?
Here is the balanced bottom line. If you have one small room with sound walls, the time, and a confident hand, paint it yourself and pocket the labour saving. That is a genuinely reasonable DIY project, and many Toronto owners pull it off well.
But if you are facing a whole furnished unit, high ceilings, drywall or popcorn repairs, or resale prep where the finish has to impress buyers, the math shifts. The professional advantages, speed, two even coats, premium Benjamin Moore, building paperwork handled, and a warranty behind the work, usually outweigh the saving. Match the choice to the job, not to pride. For the complete planning picture across costs, colours, and timing, the full condo painting guide ties it all together.
Not sure which side of the line your unit falls on? Tell us about your space and we will give you a clear, no-pressure recommendation. Get a free quote and we will help you decide whether DIY or a pro is the right move for your Toronto condo.
Chad Saygili is co-owner of Condo Painters Pro, a Toronto condo painting specialist. He has spent years painting condos across Toronto and the GTA, works exclusively with Benjamin Moore, and backs every job with a 5-year workmanship warranty.
MORE ABOUT OUR TEAM →