Table of Contents
- Quick answer: condo ceilings and popcorn removal
- Quick guide to the four ceiling decisions
- Does your condo popcorn ceiling contain asbestos?
- How much does popcorn ceiling removal cost?
- The three routes to a smooth ceiling
- Remove the popcorn, or just paint it?
- What does a smooth ceiling finish involve?
- What about high ceilings and water stains?
- How dust containment actually works in a condo
- How much building age affects the cost
- What a typical condo ceiling project looks like, day by day
- When should you call a pro?
Quick answer: condo ceilings and popcorn removal
Removing a popcorn ceiling in a Toronto condo costs roughly $1.50 to $3.50 per square foot when the texture is asbestos-free, and it is one of the biggest visual upgrades in an older unit. The critical first step on any pre-1990s ceiling is an asbestos test, because if it is positive the material must be removed under Ontario abatement rules, not simply scraped.
Key Takeaways
- Popcorn removal in a condo runs about $1.50 to $3.50 per sq ft when asbestos-free; roughly $400 to $1,200 for a standard unit.
- Test first on any building finished before 1990. Canadian texture and joint compound contained 3-6% chrysotile asbestos by weight through 1982.
- Confirmed-asbestos scraping is a Type 3 operation under O. Reg. 278/05, requiring AAW 253W certified workers and 253S certified supervisors — not ordinary painters.
- Encapsulation (painting in place) is a Health Canada and WSIB-recognized alternative to removal when the ceiling is intact.
- You do not rip out the drywall: OBC Section 9.10 requires Type X 5/8" gypsum for the 1-hour fire separation between condo suites. Scrape-and-skim preserves the rating.
- Going from popcorn to smooth is one of the highest-impact updates in an older condo for living or resale.
Quick guide to the four ceiling decisions
The ceiling story has four questions, and each one has its own deep-dive guide. Use this as the cluster map:
| If you are asking… | Start here | One-line takeaway |
|---|---|---|
| Does my ceiling contain asbestos? | Condo popcorn ceiling and asbestos in Toronto | Test any pre-1990s ceiling before touching it. Reg 278/05 governs the work. |
| Should I scrape, skim, or cover? | Remove vs skim-coat vs cover up | Three smooth-finish routes. Asbestos status often picks for you. |
| What will the removal cost? | Popcorn ceiling removal cost in a Toronto condo | $1.50 to $3.50 per sq ft asbestos-free; abatement quoted separately. |
| What does the final smooth ceiling cost? | Smooth ceiling finish cost after popcorn removal | Skim-and-sand labour is the spend; the paint itself is a small part. |
| How do I paint a ceiling I am keeping? | How to paint a condo ceiling in Toronto | Stain-block water marks first; dead-flat sheen always. |
Nothing dates an older condo quite like a popcorn ceiling. Stripping it and getting a clean, smooth finish is one of the biggest visual upgrades a unit can have. Ceilings are also where the most important safety question in condo painting lives: asbestos. What follows is the whole picture, cost, the asbestos rules in Ontario, smooth versus painted, and how the process actually runs day to day. For the bigger repainting picture across your whole condo, start with our complete condo painting guide.
Does your condo popcorn ceiling contain asbestos?
This is the first question on any older ceiling, and the honest answer is: it might, so you test before you touch it. Asbestos was used in textured and popcorn ceiling material in Ontario into the 1980s and has been detected in popcorn ceilings as late as 1990, so the age of your building is the first clue.

The only way to know for certain is a lab test of a small sample. In Ontario, disturbing material that may contain asbestos is regulated under Ontario Regulation 278/05, which classifies asbestos work into three operation types by exposure risk:
| Operation type | What it covers | Required workforce |
|---|---|---|
| Type 1 (low risk) | Non-friable material that cannot be crumbled by hand. | Basic precautions; no specialised licensing. |
| Type 2 (medium risk) | Any asbestos work not Type 1 or Type 3. | Type 1/2 training under s.19 of the regulation. |
| Type 3 (high risk) | Friable or non-friable ACM with potential for high airborne fibre concentrations — including scraping confirmed-asbestos popcorn texture. | AAW 253W certified worker and 253S certified supervisor, both under approved Ontario Ministry of Labour, Immigration, Training and Skills Development training. |
Scraping confirmed-asbestos popcorn is a Type 3 operation. A painter without 253W certification cannot legally do it; the work has to go to a licensed abatement firm. The federal cut-off on Canada's asbestos regulatory framework is December 30, 2018, when the Prohibition of Asbestos and Products Containing Asbestos Regulations (SOR/2018-196) came into force. Anything in your building before that date is in scope; anything new since then is asbestos-free by federal law.
For the full detail, see does my condo popcorn ceiling have asbestos.
When was the cutoff really?
"Before 1990" is the conservative shorthand most contractors use. The more precise cutoff is before 1982, because Canadian texture and joint compound contained 3 to 6 percent chrysotile asbestos by weight from the 1940s into the early 1980s, with manufacturing wind-down through 1982. Buildings finished 1982 to 1990 may have asbestos-free original texture but asbestos in earlier renovation patches, which is why we test even on the upper end of that window before any disturbance.
Encapsulation: the legal option most people don't know about
Here's something most contractors won't tell you. If your popcorn ceiling tests positive for asbestos but the texture itself is intact, you don't have to remove it. Health Canada and WSIB both recognize encapsulation (sealing the ceiling in place with paint or a dedicated sealer) as a safe and legal alternative to a Type 3 abatement. The fibre-release risk on a sound, painted ceiling is essentially zero. The fibres aren't going anywhere unless somebody disturbs the texture.
So when do you remove versus encapsulate? Removal makes sense when you want the smooth modern look, or you're already renovating the unit. Encapsulation makes sense when you can live with the popcorn aesthetic but want the asbestos out of your day-to-day worry. Either is a legitimate call. I've done both this year. The choice is yours, and any painter telling you removal is the only option either doesn't know the regulation or wants the bigger job.
How much does popcorn ceiling removal cost?
Asbestos-free popcorn removal in a Toronto condo runs about $1.50 to $3.50 per square foot, roughly $400 to $1,200 for a standard unit. That covers masking, scraping, skim-coating and sanding smooth, priming, and two coats of flat ceiling paint.
| Scope | Typical cost |
|---|---|
| Per square foot (asbestos-free) | $1.50 to $3.50 |
| Standard condo (rooms affected) | $400 to $1,200 |
| With asbestos abatement | Significantly higher, quoted separately |
The biggest variable is asbestos: a positive test means a specialised abatement job at a different price point. Ceiling height, drywall condition, and pot lights or repairs also move the number. For the full breakdown, see popcorn ceiling removal cost in a Toronto condo.
The three routes to a smooth ceiling
Most ceiling articles frame this as a binary: scrape or paint over. There are actually three routes for a Toronto condo, and the right one depends on asbestos status, ceiling height, and how much disruption you can tolerate.
Route A: Scrape and skim. The standard route on asbestos-free ceilings. Wet-scrape the texture off, skim-coat the exposed drywall, sand smooth, prime, paint. Dusty and labour-intensive but produces the cleanest result. Preserves the original Type X drywall and the OBC 9.10 fire separation.
Route B: Skim-coat over the existing popcorn (encapsulation). Apply joint compound directly over the popcorn texture without removing it, in multiple thin coats until the texture is buried and flat. This is the encapsulation route the regulators endorse for confirmed-asbestos ceilings, because no fibres are disturbed. It also works well on asbestos-free ceilings where the disruption of scraping is the bigger concern (occupied units, sensitive households, tight schedules). The finished thickness is 4-8 mm thicker than the original ceiling, which is usually invisible.
Route C: Drywall-over (1/4" overlay). Install a layer of 1/4" gypsum board directly over the existing ceiling, taped and finished as a new smooth surface. The popcorn stays sealed underneath. In a Toronto condo this has a quiet advantage: the existing 5/8" Type X drywall remains untouched, so the OBC 9.10 1-hour fire separation between suites stays intact, and the new 1/4" layer adds to it rather than replacing it. The ceiling drops by 1/4 inch, which is invisible in most rooms. Pot lights and ceiling fixtures need extension boxes to come through the new layer. Materials for a 12×12 ceiling run about $160; labour adds 1-2 days.
| Route | Disruption | Best for | Fire-rating impact (OBC 9.10) |
|---|---|---|---|
| A: Scrape + skim | High (dusty) | Confirmed-clear, want maximum smoothness | Preserves Type X 5/8" |
| B: Skim over popcorn | Medium | Confirmed-positive (encapsulation) or sensitive household | Preserves Type X 5/8" |
| C: 1/4" drywall overlay | Medium (heavy lifting) | Damaged underlying drywall, pot light reconfiguration, confirmed-positive encapsulation | Adds to Type X 5/8" — net upgrade |
For pre-1982 ceilings that test positive, Route B or C is the legal and practical answer. For asbestos-free ceilings, Route A is the cleanest result; Route C is the right call when the underlying drywall is too damaged for skim-coating or you want to reconfigure ceiling fixtures.
Remove the popcorn, or just paint it?
Two real options. Remove the texture and skim to smooth, or paint the popcorn in place to freshen it. Removal gets you the modern look but it's dustier and pricier. Painting is cheaper and faster, and it works fine when the texture is sound and you mainly want it cleaner and brighter.
The catch with painting: it locks the texture in. If you later want smooth, you're back to removal. And on any pre-1990s ceiling you need to know your asbestos status before either approach. For a lot of condo owners the smart play is to paint intact popcorn now, then plan removal when you've got a renovation budget and want the smooth look. I had a North York owner last year who repainted her popcorn for $400 to get her unit listing-ready, sold the unit, and the new owner did the smooth-over conversion six months later. That sequence worked for everyone. To paint a popcorn ceiling properly, our how to paint a condo ceiling guide covers the method. For the routes to smooth, remove, skim, or cover up compares all three.
What does a smooth ceiling finish involve?
Scraping the texture, then skim-coating and sanding the surface flat before priming and painting. Once the popcorn comes off, the drywall underneath is almost never paint-ready. There are scrapes, paper damage where the texture was bonded too well, and patches where someone's run a screw or a wire through over the years. The skim coat is what actually delivers the smooth finish. The scrape is just the first step.
That skim-and-sand stage is the craft of the job, and it's the reason a smooth ceiling costs more than just scraping. Done well, the finished ceiling looks like it was always smooth. Done badly, you see every ridge from across the room under condo pot lights. It's the single stage that separates a professional result from a rushed one. For the cost and whether it's worth doing, see smooth ceiling finish cost.
What about high ceilings and water stains?
Two ceiling situations need special mention in Toronto condos. High ceilings, common in newer downtown towers and hard lofts, raise both the cost and the safety bar because the work needs taller equipment and careful access. Water stains, common where a leak came from a unit above, must be fixed at the source and primed with a stain-blocking primer before any paint, or the stain bleeds straight back through.
High ceilings in downtown towers and lofts
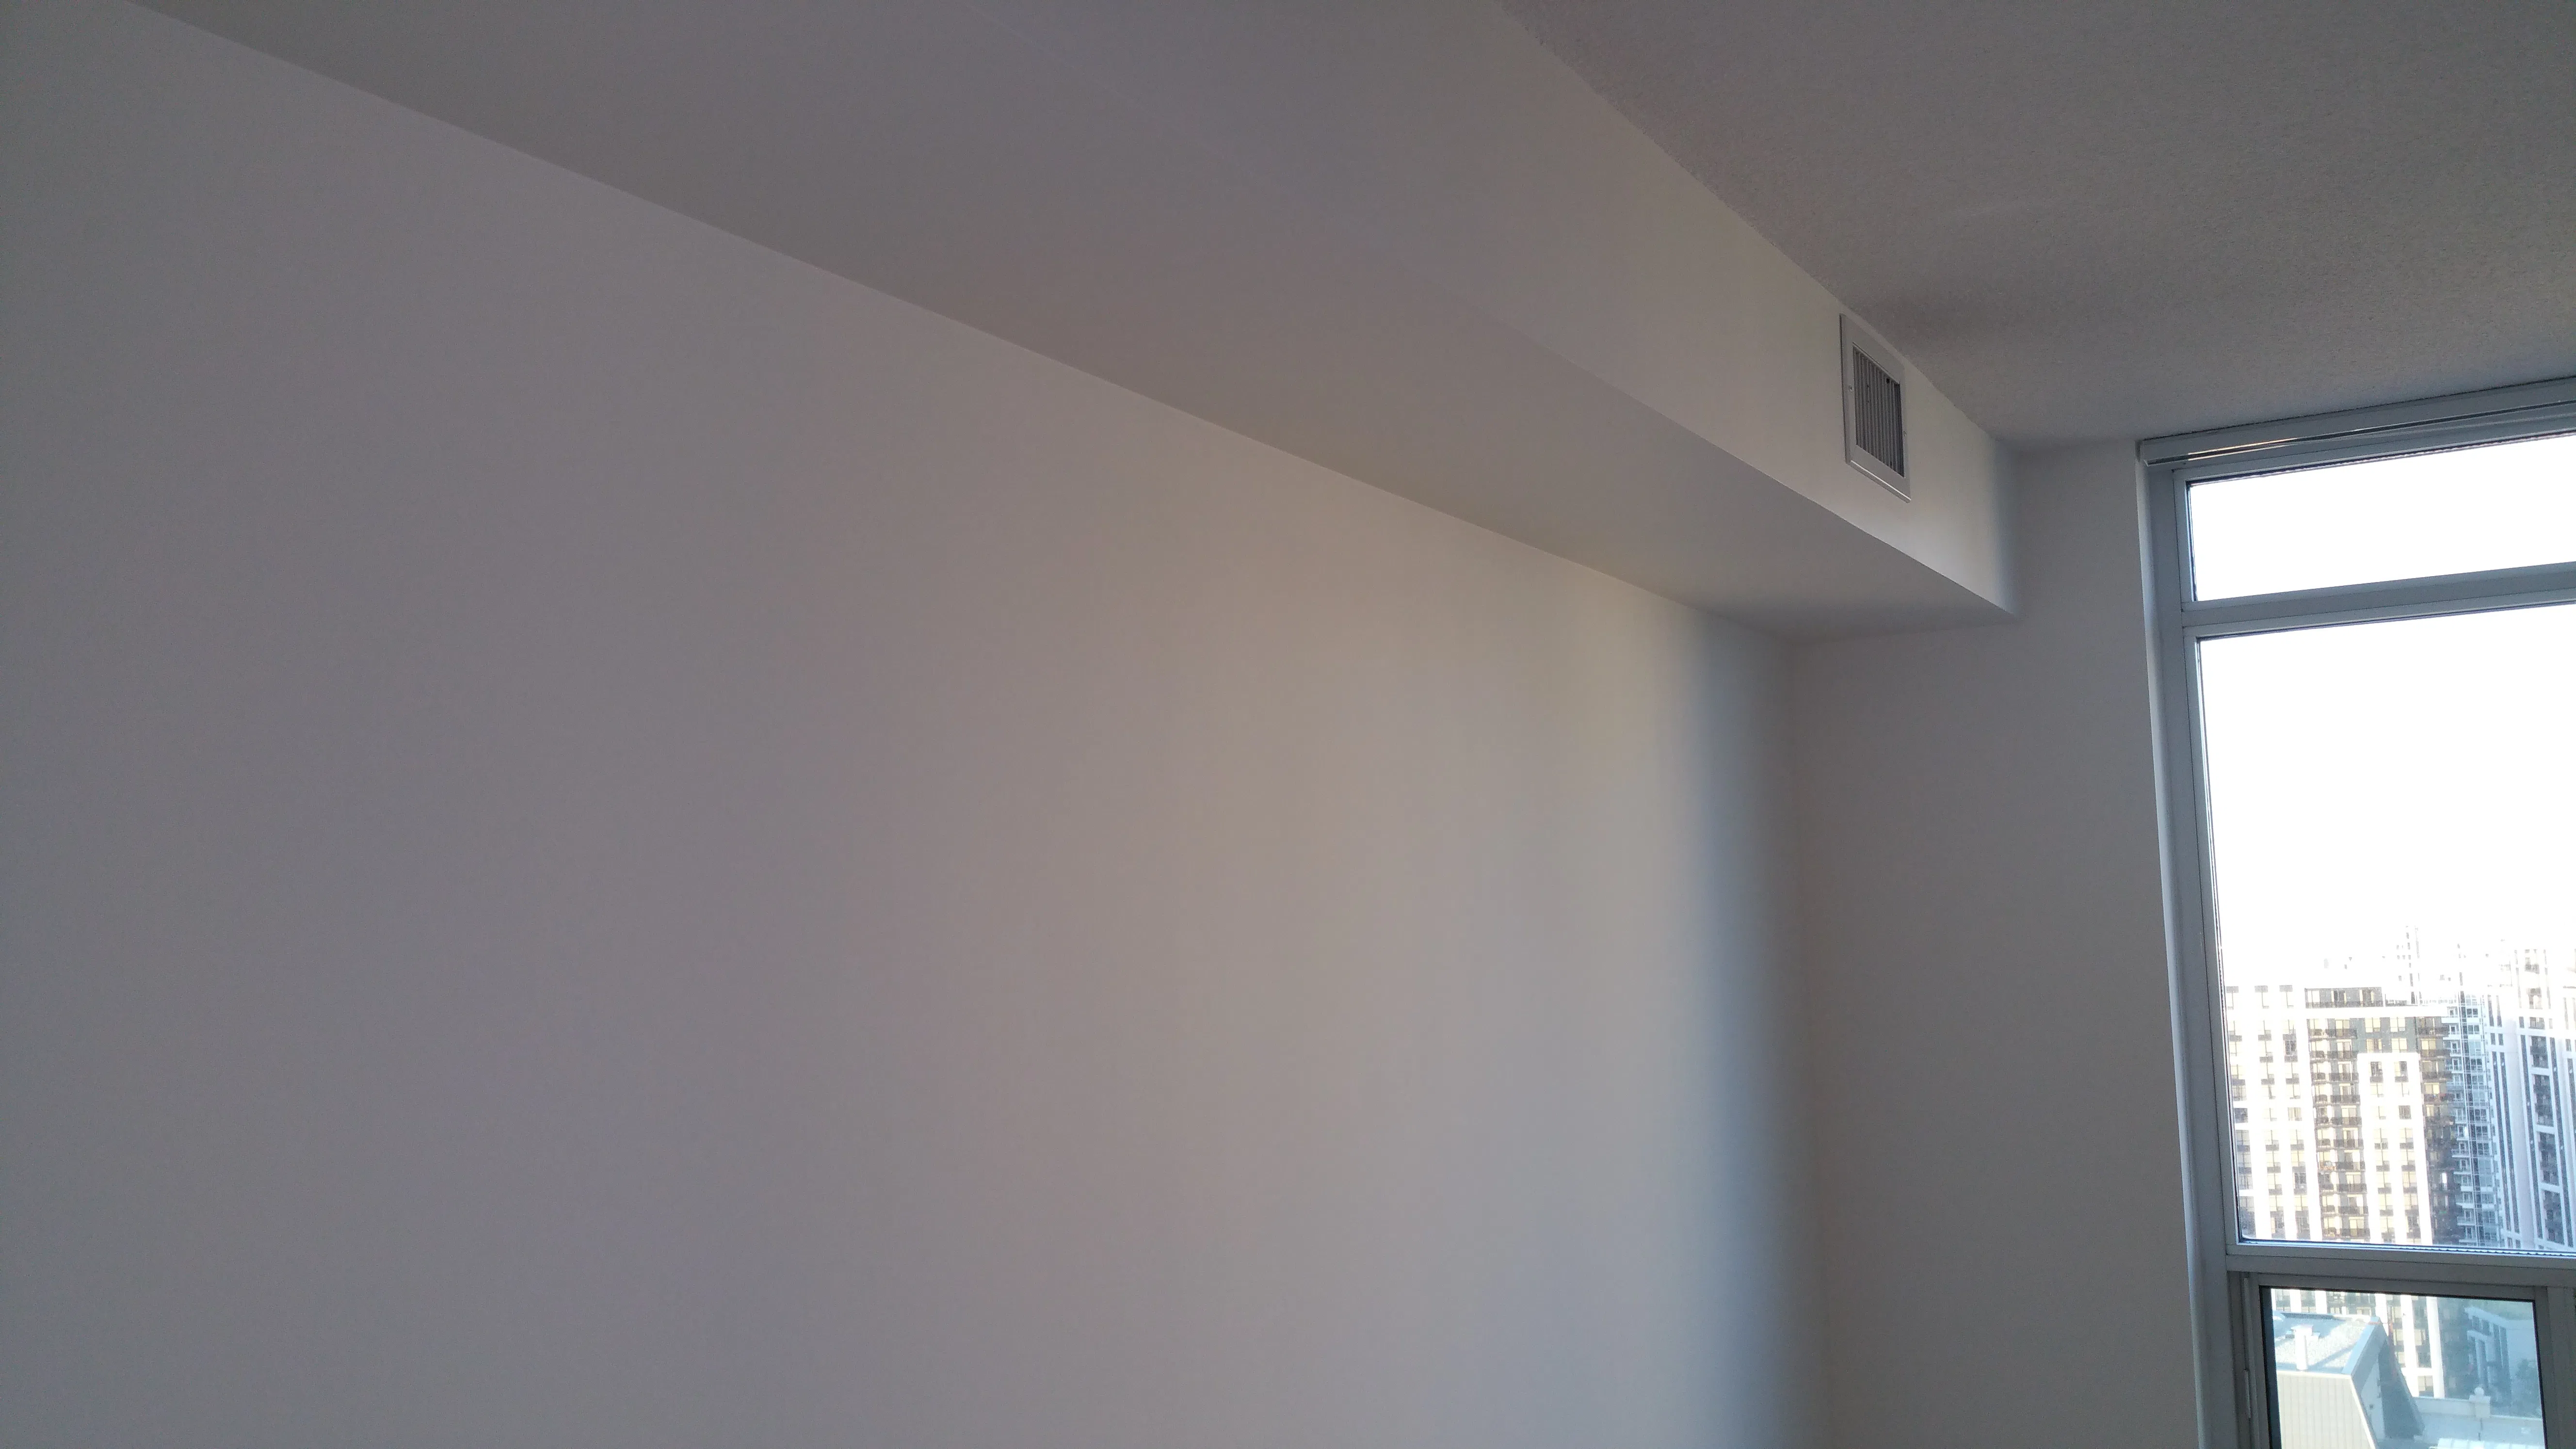
Toronto's newer downtown condos and the converted hard-loft buildings in King West, the Distillery District, and Liberty Village commonly have ceilings of 10, 11, or 12 feet, occasionally higher in lofts with mezzanine cuts. The painting math changes at every step. Setup uses scaffolding or rolling towers instead of step ladders, because a six-foot ladder leaves a crew member reaching well above shoulder height, which is both unsafe and produces poor cutting-in. Cut-in lines at the ceiling-wall edge take longer because the painter is working at full extension; rolling takes longer because each roller pass covers less actionable area before the painter has to move the platform. We typically add 20 to 40 percent to a labour estimate for ceilings above 10 feet, and beyond 12 feet the job often crosses into a separate scaffolding rental line item.
The other consideration on tall ceilings is sightlines. Pot lights, sprinkler heads, vents, and crown moulding all sit further from eye level, which means small flaws (a missed roller lap, a slight sheen variation) are harder to spot from below. A common mistake is treating a tall ceiling as easier because the flaws are further away; in practice the flat sheen and the careful skim-and-paint stage matter more than ever because raking light from large windows or pot lights below picks up every ridge.
Why "just rip out the ceiling drywall" is the wrong answer in a condo
In a detached house, a contractor can cut the ceiling drywall out and replace it. In a condo, that drywall is doing two jobs at once. It's the finish surface, and it's part of the code-required fire separation between your unit and the suite above. Ontario Building Code Section 9.10 requires fire separation between residential suites in multi-unit buildings, typically achieved with 15.9 mm (5/8") Type X gypsum board providing 1-hour fire resistance. Standard 1/2" drywall fails the test in 15 to 25 minutes; Type X 5/8" holds for 60-plus minutes in tested assemblies.
Removing the ceiling drywall in a condo unit breaches that fire separation. Restoring it correctly means installing new Type X 5/8" board with proper fire-stop detailing at every penetration (pot lights, sprinkler heads, vents) and at every joint. That is a multi-trade job that takes the project from a paint-and-skim project to a renovation. Scrape-and-skim keeps the fire-rated drywall intact and is the right answer for almost every condo popcorn job that is not already a gut renovation.
Water-stained ceilings from a leak above
Water-stained ceilings are common in Toronto condos because plumbing and HVAC stack vertically through the building, so a leak in an upper unit shows up as a ceiling stain in yours. The fix has three stages that cannot be reordered.
First, confirm the source is fixed. A leak in the unit above means coordinating with that unit's owner and often with property management. Painting before the source is fixed is just paying to repaint the stain when it returns. Property managers usually require an incident report on file before insurance involvement, which we document on every job that involves cross-unit water damage.
Second, diagnose the stain. The 30-second bleach test settles whether you have a water stain or a mould problem before any repair. Mix 1 part household bleach with 5 parts water and apply a small amount to an inconspicuous edge of the stain with a cotton swab. Wait 15 minutes. If the stain fades or lightens visibly, it is a water stain, and you can proceed with priming and painting. If the stain stays unchanged or shows fuzzy, irregular edges, you have mould, and the call escalates to a remediation conversation per Health Canada's mould guidance rather than a paint conversation.
Third, dry the cavity. A stain on the ceiling face often hides a damp drywall layer above. We assess by tapping the area; if the drywall sounds dull or feels soft, it is wet through and needs to dry before any paint. Drying can take days with fans pointed at the area through a small access hole. Latex or acrylic stain-blockers fail on a wet ceiling because the moisture works its way through the new coating within weeks. Per Health Canada, drywall wet for more than 48 hours should be replaced rather than primed. The porous gypsum core harbours mould even after the surface dries.
Third, prime with a shellac-based stain-blocking primer. Zinsser B-I-N is the gold-standard product: shellac-based, blocks water, smoke, fire, nicotine, and tannin stains in a single coat, and recoats in 45 minutes per its technical data sheet. Latex stain-blockers exist and work on light surface stains, but for real water damage shellac is what holds. One coat of B-I-N over the dried stain, then two coats of dead-flat ceiling paint over the primer, and the stain stays buried. The most common reason a "fixed" water stain reappears within a season is the wrong primer choice; latex over real water damage is the recipe for stain bleed-through.
Lakeside humidity and Toronto's microclimates
Toronto condo ceilings are not all painted under the same conditions. Buildings in Humber Bay Shores, Harbourfront, and the south-end CityPlace blocks face lake humidity that runs noticeably higher than mid-town and Yorkville averages, particularly in summer. Higher humidity means longer drying windows for joint compound, longer cure times for primer, and slower full-room cure on the finish coats. We schedule ceiling work in lakeside buildings with a half-day buffer on either side of the work to absorb the slower cures, and in the worst summer weeks we use dehumidifiers running through the job to bring the room conditions back into the manufacturer's spec range.
The other microclimate worth knowing: large south-facing windows. A wall of glass turns the room into a passive solar oven through the workday, which can flash-dry a ceiling skim coat unevenly (the side closer to the window cures faster than the far side, leaving subtle sheen differences in the finish). On those units we curtain the windows during the work day or schedule the skim stage for an overcast day if the calendar allows.
Both the high-ceiling specifics and the water-stain fix are covered in our how to paint a condo ceiling guide, which walks through tall-ceiling access and priming stains before paint. Textured and stucco ceilings beyond popcorn follow the same scrape-or-paint logic as popcorn.
How dust containment actually works in a condo
Popcorn removal is the dustiest work we do, full stop. In an occupied unit, the containment stage is the difference between a clean job and a place that takes a week to feel livable again. Most rescue calls I get on bad popcorn jobs aren't about the finish. They're about the dust that didn't get contained.
Here's the setup we run on every job.
Seal the HVAC. Every supply and return vent in the work room and the rooms next to it gets masked with poly sheeting and tape. Run the HVAC during scraping and you'll push popcorn dust through the entire ductwork, where it'll sit for weeks. We've cleaned out duct vents in client units where a previous painter skipped this step. The dust never really leaves.
Plastic the room from ceiling to floor. Walls and any built-ins get covered with 6-mil poly, taped at every edge so the dust can't escape into wall cavities or behind millwork. Floors get a poly underlay and heavy paper on top, both for dust and so the scraper-and-trowel work doesn't damage the floor.
Negative pressure on bigger jobs. Full-unit or multi-room popcorn removal gets a HEPA-filtered air scrubber pulling room air through a filter and venting to a window or balcony. That creates slight negative pressure inside the work room, so when somebody opens the zip-door, dust flows toward the scrubber instead of out into the rest of the unit.
Zip-door seal on the work room. Polyethylene zipper installed in the doorway. Crew goes in and out without breaking containment. Traffic between the work room and the clean areas runs through the building hallway briefly, not directly across the unit.
End-of-day HEPA vacuum. Even with full containment, we vacuum the work room and the path to the freight elevator at the end of each shift with a HEPA vacuum. Daily cleanup is what keeps a multi-day job from accumulating dust that travels.
Containment is the part of popcorn removal that costs the most in time and equipment and produces the least visible result. It's also what most cheap removal jobs skip, which is why those jobs leave a unit dusty for weeks. A reputable removal quote shows the containment setup as a line item, not buried in the labour rate.
How much building age affects the cost
Toronto condo stock spans roughly six decades of construction, and after working across most of those eras, I'll tell you the building's vintage drives the popcorn job more than the unit's square footage does. Here's the rough mapping I've built up:
Pre-1980 buildings. Yorkville, midtown, the older Annex blocks, parts of the Beaches and East York. Popcorn or sprayed acoustic texture is almost universal in ceilings of this era, and asbestos testing is mandatory before any disturbance. The texture and joint compound from this period contained 3 to 6 percent chrysotile by weight. Many of these buildings used heavier acoustic texture (sometimes 5 to 8 millimetres of stippling) that takes longer to scrape than the lighter popcorn of the 1980s. Expect the upper end of the cost band, and budget separately for Type 3 abatement if the test is positive.
1980s buildings. North York, Scarborough, Etobicoke, parts of the original CityPlace and Harbourfront blocks. Popcorn is common. Asbestos manufacturing wound down through 1982, so anything 1980-1982 still tests positive frequently while 1983-1989 increasingly tests negative. We test anything pre-1990 before disturbance. The underlying drywall is often builder-grade and rougher than modern board, so the skim-coat stage after scraping is heavier than on a newer unit. Mid to upper band.
1990s buildings. Most of the original Harbourfront and CityPlace mid-rises, the older Fort York and Liberty Village stock. Asbestos risk drops sharply after 1991, but a test is still standard practice on anything pre-1993. Popcorn was being phased out in favour of stippled or knock-down textures, both of which scrape and skim similarly. Mid band.
2000s buildings. Most CityPlace high-rises, the second wave of Harbourfront, modern North York. Smooth ceilings standard from the start; popcorn rare and usually a tenant-added texture rather than original. Low end of the band on the rare cases popcorn appears.
2010s and newer buildings. Glass towers, modern Fort York and the Distillery District new builds. Smooth ceilings throughout. Popcorn removal is essentially never a question.
The age-versus-cost relationship is steady: older buildings cost more not because the popcorn is intrinsically different but because the surrounding system (asbestos status, drywall quality, building access, HVAC type, ceiling-height assumptions) changes with vintage. A 1975 Yorkville one-bedroom and a 2015 CityPlace one-bedroom would quote very differently for the same nominal ceiling area.
What a typical condo ceiling project looks like, day by day
For an asbestos-free popcorn removal in a one-bedroom Toronto condo (single bedroom plus living-dining ceiling, roughly 300 to 400 square feet of ceiling area), the job runs three to four working days:
Day 1: Setup and scrape. We're in the elevator between 9 and 10 in the morning (most buildings restrict freight elevator use to weekday mid-day windows). Two hours for containment setup: poly walls, floor protection, HVAC seal, zip-door. Then four to six hours of wet-scraping. A light water mist softens the texture, and a wide putty knife pulls it off in long strokes. By end of day the texture is off, the bare drywall is exposed, and the first round of dust is vacuumed and bagged.
Day 2: First skim. Joint compound is applied across the entire scraped ceiling in a thin first coat. The skim covers any small chips and starts the surface-flattening stage. After application, the room is closed and left to cure overnight.
Day 3: Sand, second skim, sand again. Morning sanding of the first skim with HEPA-filtered sanders. Mid-day second skim coat, feathered out to a smoother finish. Afternoon sanding of the second skim. By end of day, the ceiling is flat to the touch and ready for primer.
Day 4: Prime and paint. Drywall primer applied first, then two coats of dead-flat ceiling paint with cure time between. By late afternoon the final coat is on and the room is ready to clean down and re-open.
Whole-unit jobs scale up roughly proportionally but with rooms sequenced so cure times overlap rather than stack. A two-bedroom typically runs five to seven days; a three-bedroom seven to ten. Heavy repair situations (extensive water damage, asbestos abatement, drywall replacement) extend the schedule and are scoped separately.
When should you call a pro?
For any popcorn removal, call a pro. Two reasons. The asbestos question alone is the first, and the skim-and-sand work that makes a ceiling truly smooth is the second. A pre-1990s ceiling should never be scraped without a lab test. If the test comes back positive, abatement is a regulated job that requires AAW 253W certification by law. Even on an asbestos-free unit, the masking and the smoothing are what separate a clean result from a ridged ceiling you'll see from across the room every time the pot lights come on.
We will not scrape an untested pre-1990s ceiling, full stop. On an asbestos-free unit we contain the dust room by room, run a HEPA scrubber, and finish in Benjamin Moore dead-flat. 5-year warranty on the workmanship. If your popcorn ceiling is dating your unit, send a photo and your building's year of construction and we will tell you whether you need a test before anything else. For the rest of the unit, our complete condo painting walkthrough covers it.
Chad Saygili is co-owner of Condo Painters Pro, a Toronto condo painting specialist. He has spent years painting condos across Toronto and the GTA, works exclusively with Benjamin Moore, and backs every job with a 5-year workmanship warranty.
MORE ABOUT OUR TEAM →